Creating a homemade facemask in 2024 is an easy and effective way to pamper your skin using natural ingredients. Not only are these facemasks cost-effective, but they also allow you to customize the ingredients to suit your skin’s unique needs. In this blog post, we’ll guide you through 5 simple steps to make your own facemask at home, ensuring a radiant and healthy glow.
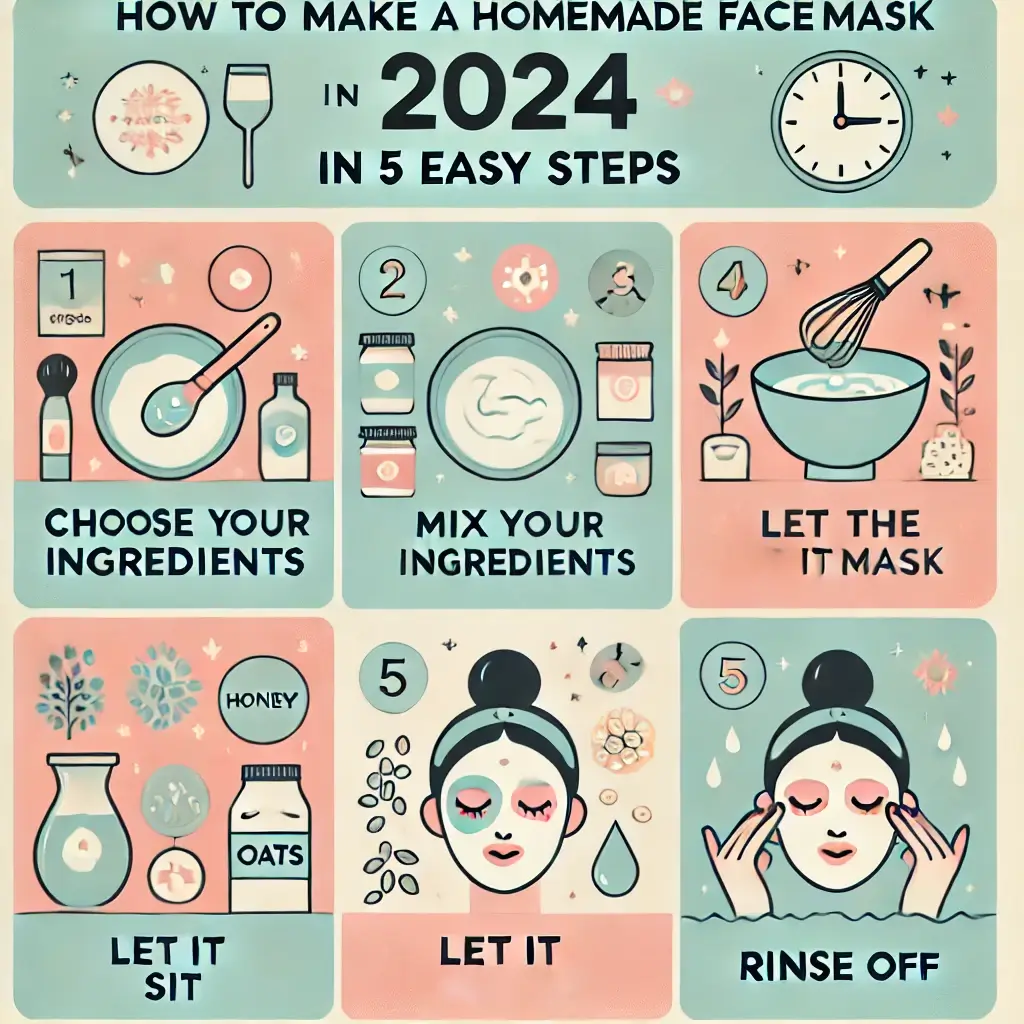
Guide overview: Homemade Facemask
- Gather Your Ingredients: Choose natural ingredients like honey, yogurt, oatmeal, avocado, and turmeric based on your skin type.
- Choose Your Base and Add-Ins: Select a base ingredient and add complementary ingredients for enhanced benefits.
- Mix the Ingredients: Combine your chosen ingredients in a clean bowl using simple recipes.
- Apply the Facemask: Apply the mixture evenly to your clean, dry face, avoiding the eye area, and leave it on for 15-20 minutes.
- Rinse and Moisturize: Rinse off the facemask with lukewarm water, pat your face dry, and apply moisturizer to lock in the benefits.
Step 1: Gather Your Ingredients
The first step to making a homemade facemask is gathering the right ingredients. Depending on your skin type and concerns, here are some popular options:
- Honey: A natural antibacterial that moisturizes and soothes.
- Yogurt: Contains lactic acid for gentle exfoliation and brightening.
- Oatmeal: Anti-inflammatory and perfect for sensitive skin.
- Avocado: Rich in healthy fats and vitamins for deep nourishment.
- Turmeric: Anti-inflammatory and antibacterial, great for acne-prone skin.
Step 2: Choose Your Base and Add-Ins
Select a base ingredient that suits your skin type and add complementary ingredients to enhance the mask’s benefits. Here are a few combinations:
- For Dry Skin: Avocado and honey
- For Oily Skin: Yogurt and turmeric
- For Sensitive Skin: Oatmeal and honey
Step 3: Mix the Ingredients
In a clean bowl, combine your chosen ingredients. Here are three simple recipes to get you started:
Honey and Yogurt Facemask
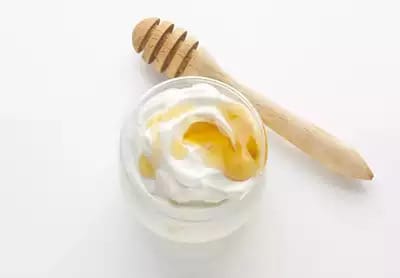
Ingredients:
- 1 tablespoon honey
- 1 tablespoon yogurt
Instructions:
- Mix the honey and yogurt until well blended.
Oatmeal and Avocado Facemask
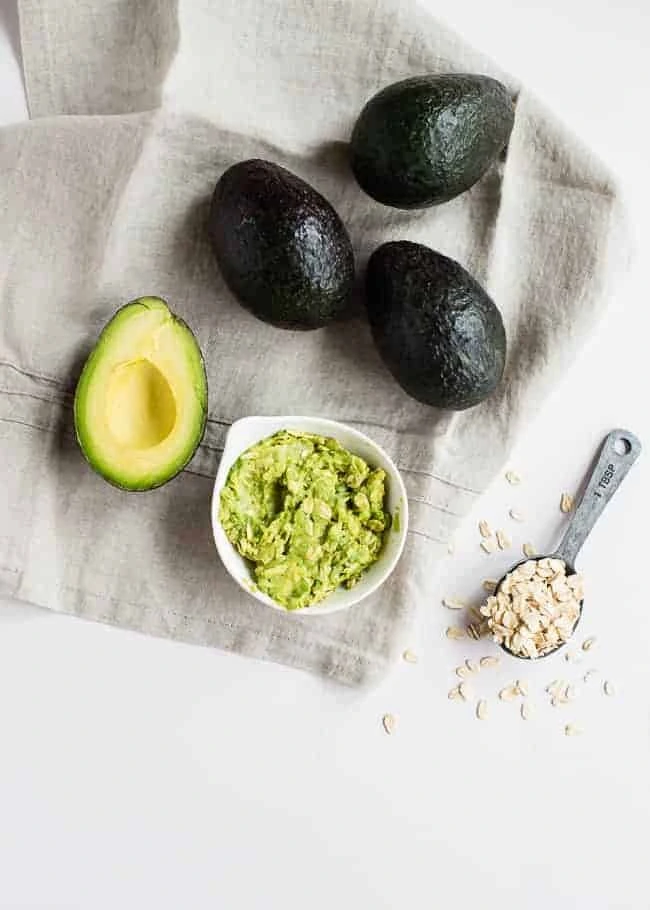
Ingredients:
- 2 tablespoons oatmeal
- 1/2 ripe avocado
Instructions:
- Mash the avocado and mix it with the oatmeal.
Turmeric and Honey Facemask
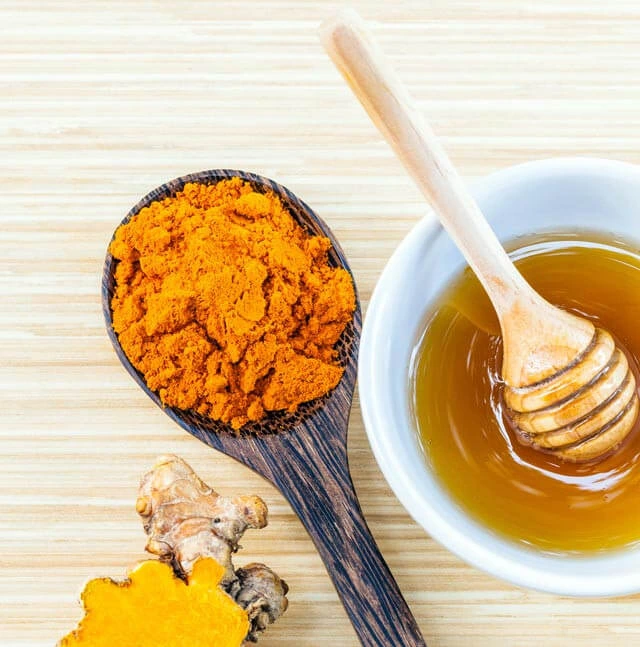
Ingredients:
- 1 teaspoon turmeric powder
- 1 tablespoon honey
Instructions:
- Mix the turmeric powder and honey until smooth.
Step 4: Apply the Facemask
Before applying the facemask, ensure your face is clean and dry. Using clean fingers or a brush, apply the facemask evenly over your face, avoiding the eye area. Here are some tips:
- Apply evenly: Ensure all areas of your face are covered for uniform treatment.
- Relax: Sit back and relax while the mask works its magic. Leave it on for 15-20 minutes.
Step 5: Rinse and Moisturize
After the mask has set, gently rinse it off with lukewarm water. Pat your face dry with a clean towel and apply your favorite moisturizer to lock in the benefits. Here’s what to do:
- Rinse thoroughly: Ensure no residue is left on your skin.
- Moisturize: Follow up with a moisturizer to keep your skin hydrated.
What’s next?
Now that you’ve created your homemade facemask, here are some additional steps and tips to enhance your skincare routine:
- Storage Tips:
- If you have any leftover mixture, store it in an airtight container in the refrigerator. Most homemade facemasks will last 1-2 days.
- Ensure to label the container with the date to keep track of its freshness.
- Application Tips:
- Before applying the facemask, ensure your face is clean and free of makeup to allow better absorption of the mask’s ingredients.
- Use a gentle circular motion to apply the facemask, which helps to exfoliate the skin slightly.
- Post-Facemask Care:
- After rinsing off the facemask, follow up with your regular toner and moisturizer to lock in the hydration and benefits.
- Consider using a hydrating serum or face oil if your skin needs extra nourishment.
- Routine Integration:
- Integrate the homemade facemask into your weekly skincare routine, ideally using it 1-2 times per week for the best results.
Helpful Articles for Further Reading
For more tips and insights into skincare, check out these related articles:
- The Benefits of Natural Skincare Products: Discover why natural ingredients are better for your skin and the environment.
- DIY Skincare: Tips for Making Your Own Beauty Products: Learn how to create more DIY skincare products at home.
- Understanding Your Skin Type: A Comprehensive Guide: Find out how to identify your skin type and the best ingredients to use.
- Top 10 Essential Oils for Skincare: Explore the benefits of different essential oils and how to incorporate them into your beauty routine.
- How to Create a Personalized Skincare Routine: Step-by-step guide to building a skincare routine tailored to your specific needs.
FAQ’s
Q1: How often should I use a homemade facemask?
A: It’s generally recommended to use a homemade facemask 1-2 times a week, depending on your skin type and the ingredients used. Overuse can potentially irritate the skin, so it’s best to start with once a week and see how your skin reacts.
Q2: Can I store leftover facemask mixture?
A: Most homemade facemasks are best used immediately due to the freshness of the ingredients. However, some mixtures can be stored in the refrigerator for 1-2 days. Make sure to store them in an airtight container.
Q3: Are homemade facemasks safe for all skin types?
A: Homemade facemasks can be customized for different skin types, but it’s essential to do a patch test before applying a new mixture to your face. This helps ensure you don’t have an allergic reaction to any ingredient.
Q4: Can I use a homemade facemask if I have sensitive skin?
A: Yes, but choose ingredients that are known to be gentle on the skin, like oatmeal, honey, and yogurt. Avoid ingredients that may cause irritation, such as citrus fruits or strong essential oils.
Q5: What should I do if I experience irritation or redness after using a facemask?
A: If you experience irritation or redness, rinse your face immediately with cool water and apply a soothing moisturizer. Avoid using the same facemask again and consult with a dermatologist if the irritation persists.
Q6: Can I add essential oils to my homemade facemask?
A: Yes, you can add essential oils, but use them sparingly as they are highly concentrated. A few drops are usually sufficient. Be sure to choose oils that are safe for skin application, such as lavender or chamomile.
Q7: How long should I leave a homemade facemask on my face?
A: Most facemasks should be left on for 15-20 minutes. This allows enough time for the ingredients to work on your skin without causing any irritation or dryness.
Q8: Do homemade facemasks work as well as store-bought ones?
A: Homemade facemasks can be very effective, especially since you can control the quality and freshness of the ingredients. While they may not have the same consistency and shelf-life as commercial products, they offer a natural and customizable alternative.
In the End
Creating a homemade facemask in 2024 is a fantastic way to pamper your skin with natural, cost-effective ingredients. By following these 5 simple steps, you can tailor your facemask to suit your unique skin type and needs, ensuring optimal benefits. Whether you’re looking to hydrate, exfoliate, or calm your skin, these easy-to-follow recipes offer a perfect solution. Enjoy the process and relish in the natural glow and health of your skin.
credits: /@littlediy